Yarn Spinner & Bevy
#tutorialIntroduction
Soooooo..! Yarn Spinner 🔗 is a wonderful tool for writing dialogs in games.
A very nice crate exists to integrate Yarn Spinner 🔗 with Bevy.
(YarnSpinner-Rust 🔗)
This crate provides an example UI to get you started fast, but this example UI is very extensive but hides a lot of the lower level stuff.
The point of this article is to provide a tutorial to hook directly into the events emitted by the crate and display them
using a UI built from scratch (using bevy_ui).
A basic understanding of Bevy & Bevy’s Events 🔗
system would help a lot in understanding this tutorial. Additionally, understanding how Yarn Spinner works and playing with the examples
in the YarnSpinner-Rust 🔗 repo would also be helpful!
Setup bevy
First lets make a basic Bevy app.
$ cargo new bevy_yarnspinner_tutorial
$ cargo add bevy
Next lets add the YarnSpinner-Rust 🔗 crate to the project.
$ cargo add bevy_yarnspinner
We also need to make sure our project has a font in its assets folder for the UI to use.
For this example I will be using the FiraSans font from the bevy repo.
For bevy_yarnspinner to run we also need to make a dialogue folder in the assets/ directory.
Finally lets add the basic structure of a Bevy app to our main.rs file.
use bevy::prelude::*;
use bevy_yarnspinner::{events::PresentLineEvent, prelude::YarnSpinnerPlugin};

fn main() {
    App::new()
        .add_plugins(DefaultPlugins)
        .add_plugins(YarnSpinnerPlugin::new())
        .run();
}
Now lets (yarn) spin!
Before we get to the rest of the code, you should briefly look over the list of events 🔗 the yarn spinner crate emits. We will be listening to a few key events for the minimum needed to display dialog.
First lets setup a text block in the UI to display the dialog.
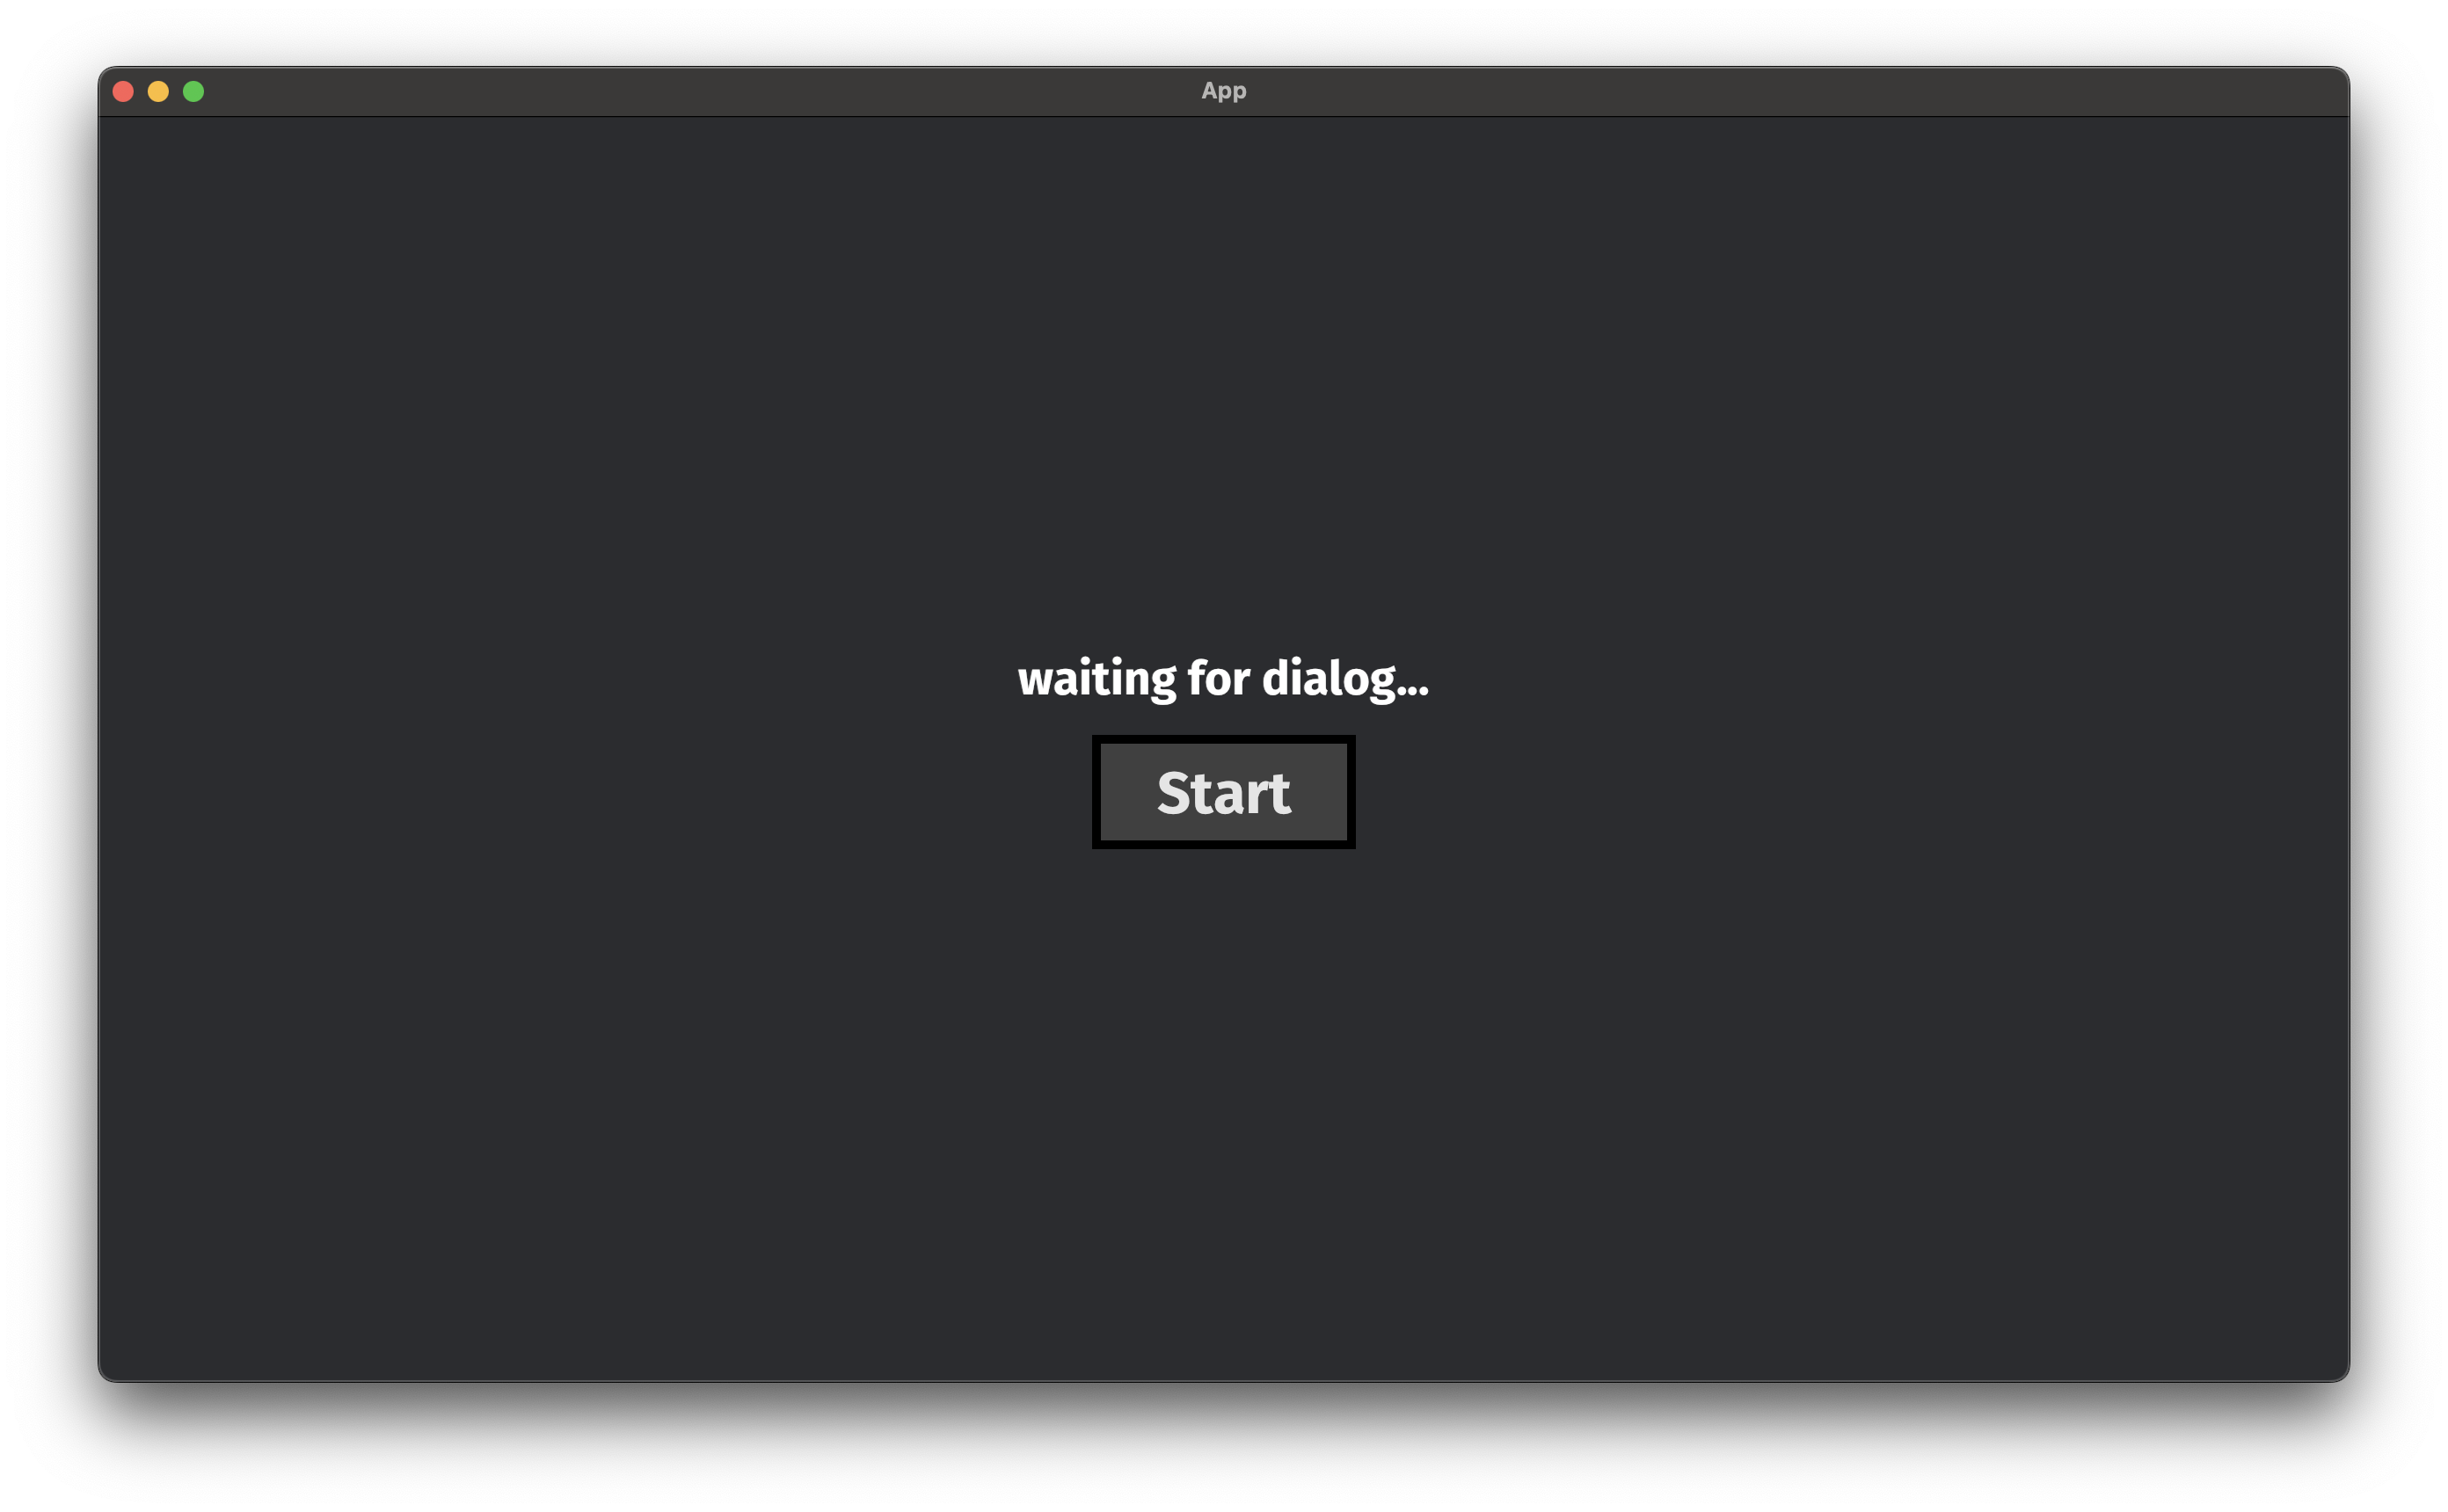
...

#[derive(Component, Default)]
pub struct DialogLine;

fn main() {
    App::new()
        ...
        .add_systems(Startup, setup)
        ...
        .run();
}

fn setup(asset_server: Res<AssetServer>, mut commands: Commands) {
    commands.spawn(Camera2dBundle::default());

    commands
        .spawn(NodeBundle {
            style: Style {
                position_type: PositionType::Absolute,
                width: Val::Percent(100.0),
                height: Val::Percent(100.0),
                align_items: AlignItems::Center,
                justify_content: JustifyContent::Center,
                flex_direction: FlexDirection::Column,
                row_gap: Val::Px(16.0),
                ..default()
            },
            ..default()
        })
    .with_children(|parent| {
        parent.spawn((
            TextBundle::from_section(
                "Waiting for dialogue...",
                TextStyle {
                    font: asset_server.load("fonts/FiraSans-Bold.ttf"),
                    font_size: 32.0,
                    ..default()
                },
            )
            .with_text_justify(JustifyText::Center),
            DialogLine,
        ));
    });
}
Now we are ready for events!
The first event we will be looking at is the PresentLineEvent 🔗. This event is emitted when yarn spinner is told to run a dialog node. We will use run conditions to create a system that only runs when this event is emitted.
fn main() {
    App::new()
        ...
        .add_systems(
            Update,
            present_line.run_if(
                on_event::<PresentLineEvent>()
            )
        )
        .run();
}

fn present_line(mut reader: EventReader<PresentLineEvent>) {
    ...
}
When the event reader receives a PresentLineEvent lets update the DialogLine UI text.
...

fn present_line(
    mut reader: EventReader<PresentLineEvent>,
    mut line: Query<&mut Text, With<DialogLine>>,
) {
    for evt in reader.read() {
        let event_text = evt.line.text.clone();
        for mut text in line.iter_mut() {
            text.sections[0].value = event_text.clone();
        }
    }
}
Now we are ready to receive PresentLineEvent events!
Lets write some basic dialog using Yarn Spinner’s format and then make a UI element to trigger the PresentLineEvent.
Time to create a assets/dialogue/hello.yarn file with the following content.
title: Hello
---
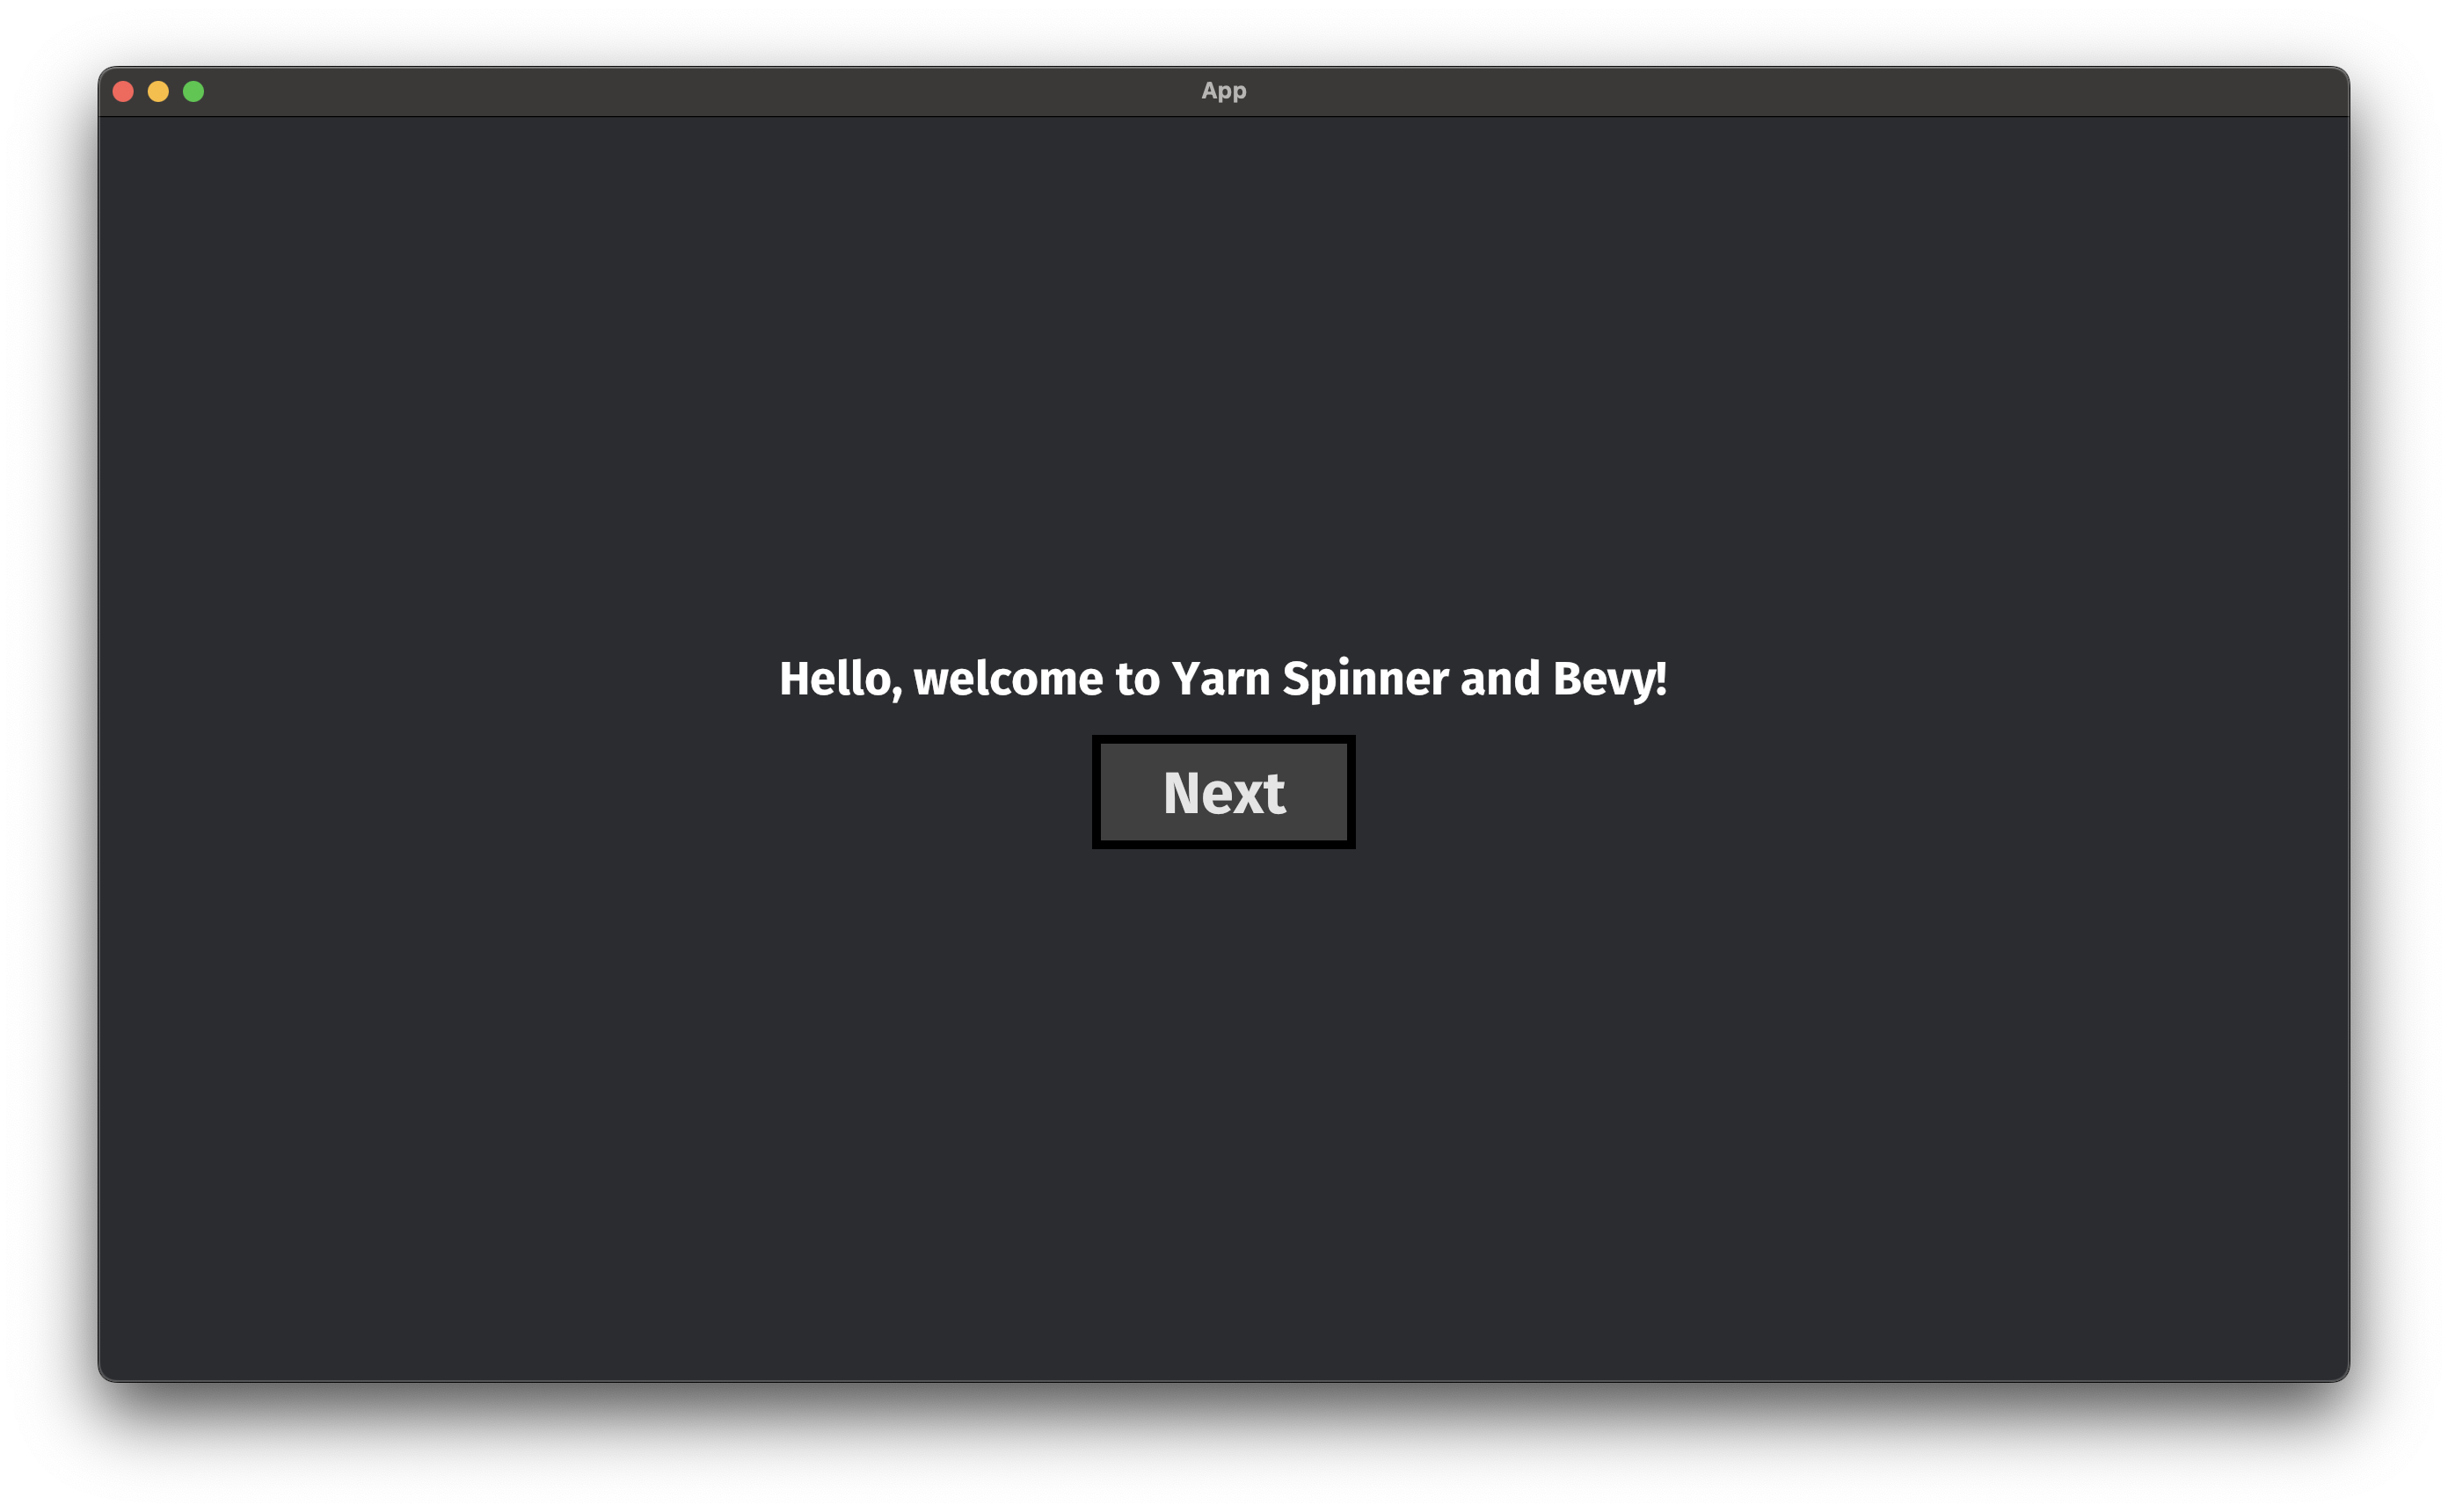
Hello, welcome to Yarn Spinner and Bevy!
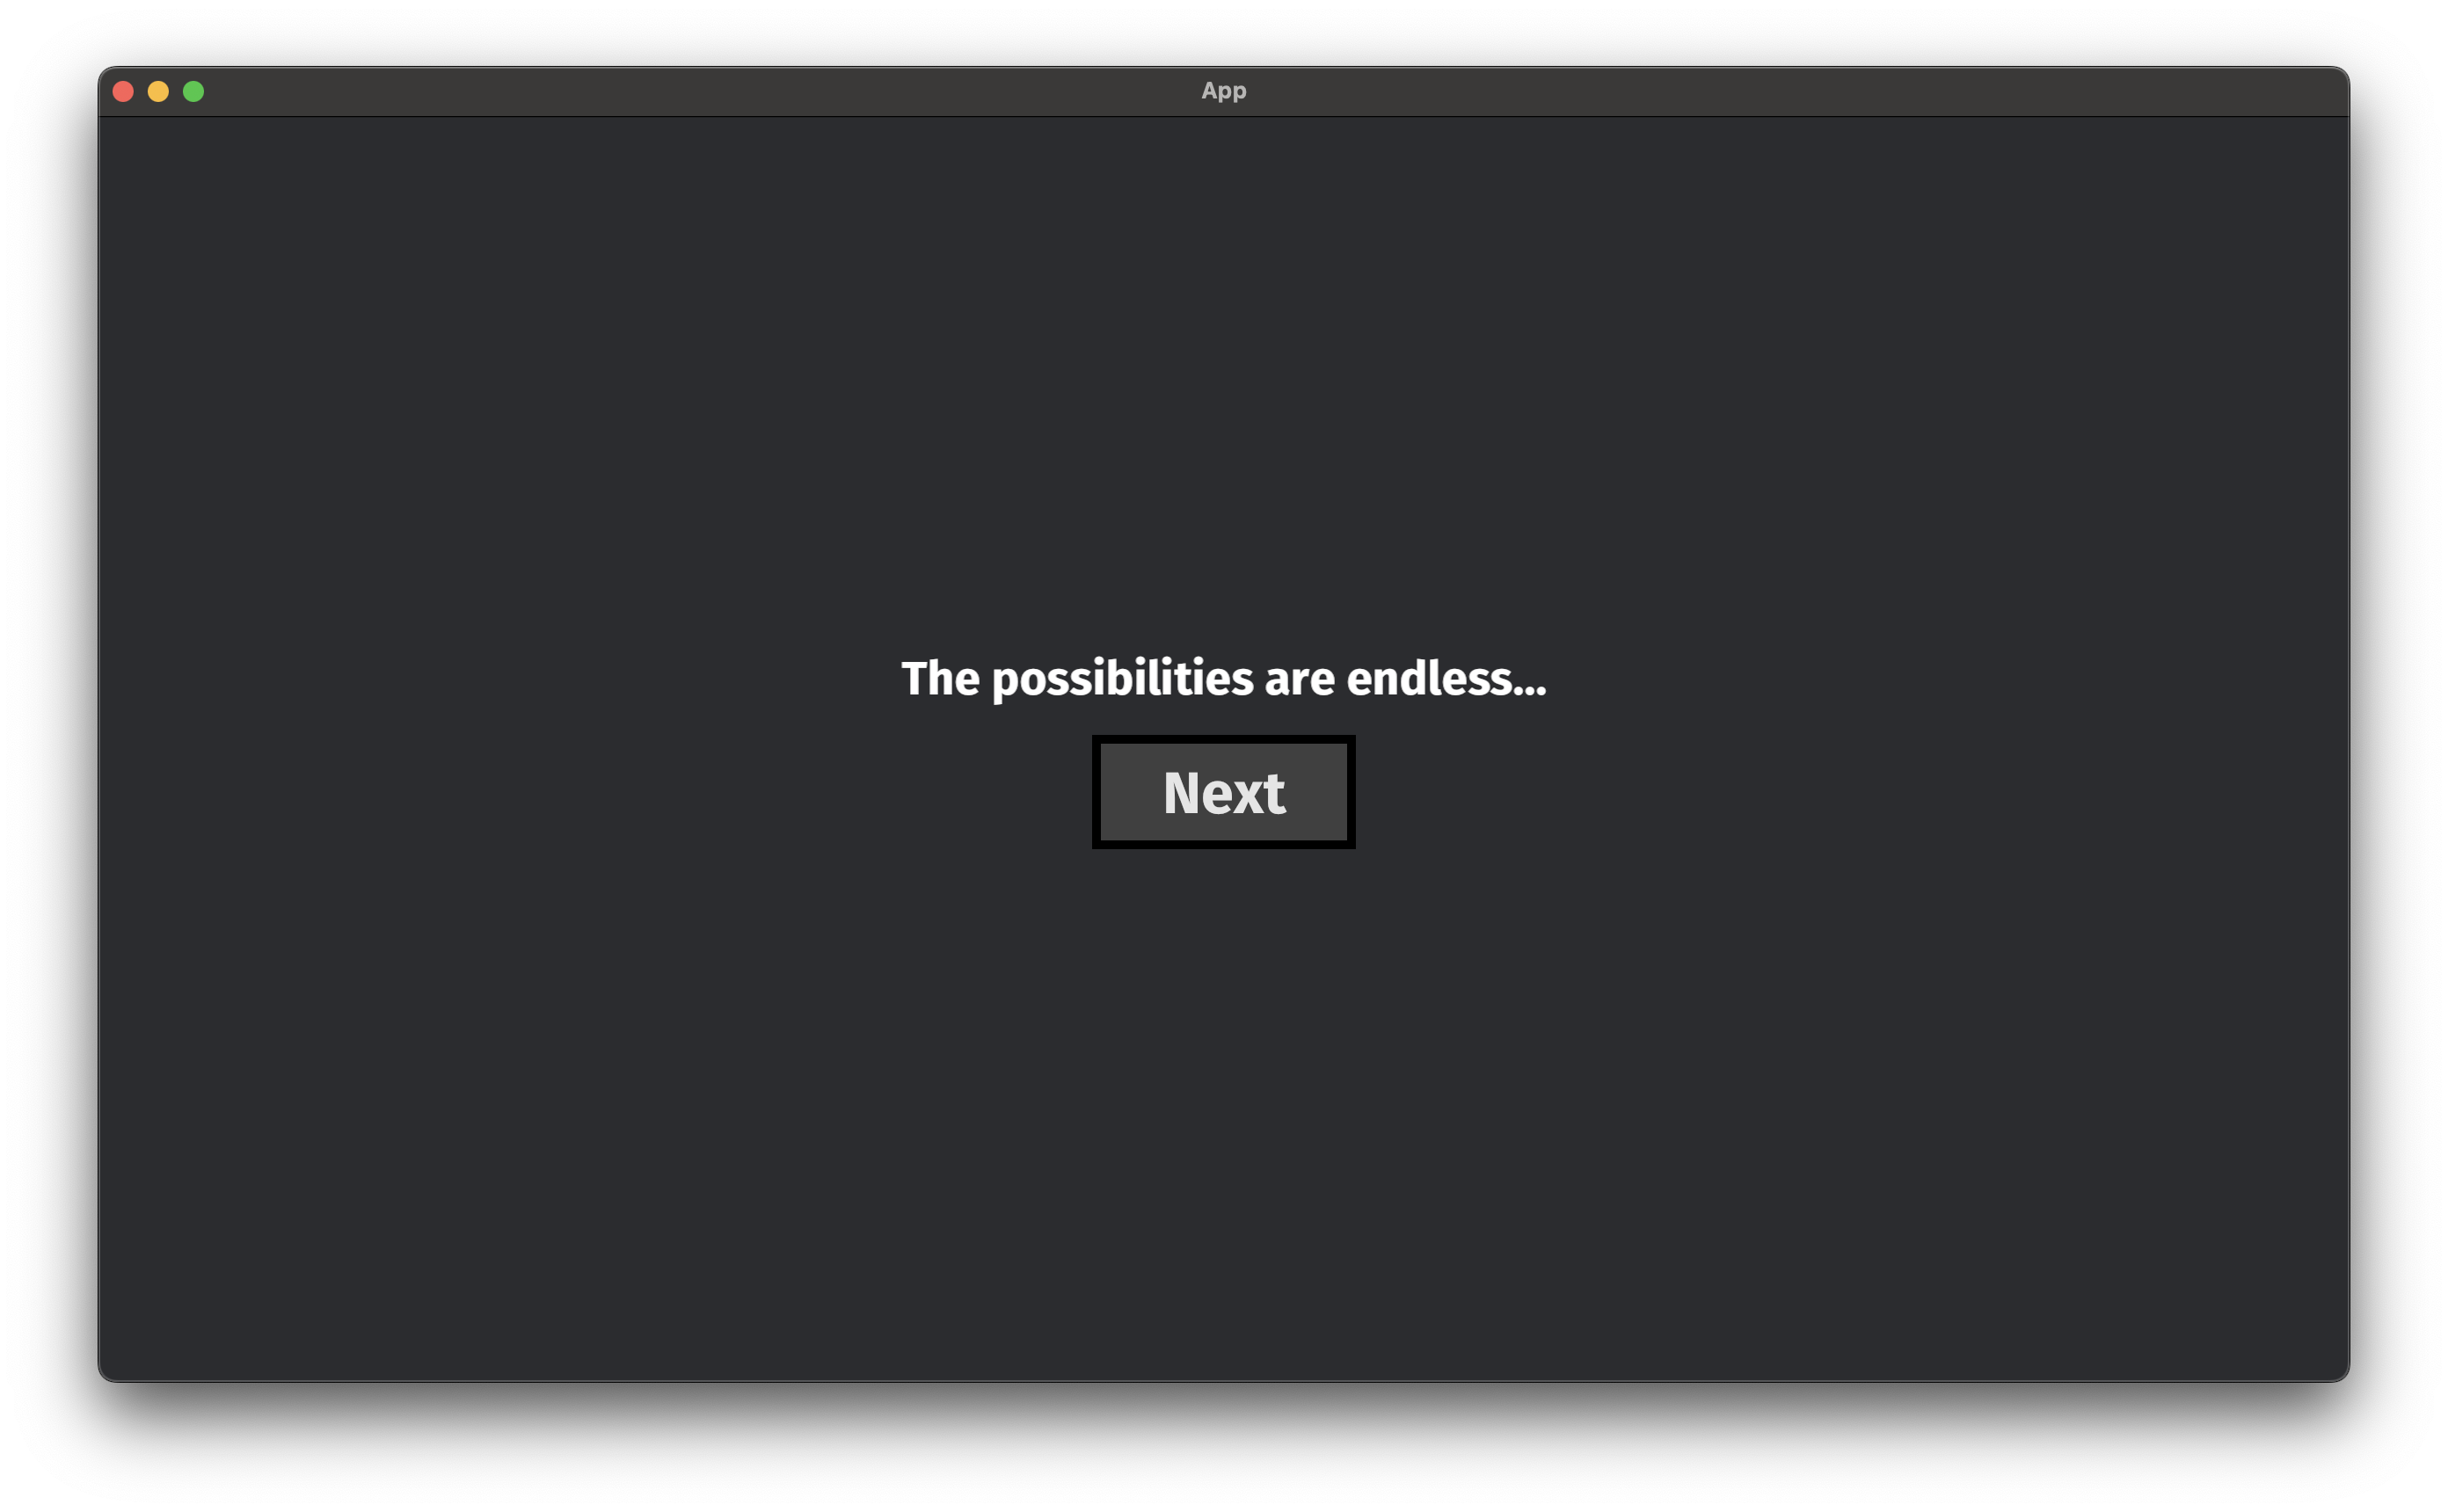
The possibilities are endless...
===
This sample dialogue file has 2 lines, so we will be able to make sure our app supports dialogues with more than one line. Yarn spinner will automatically
load all the files in the dialogue folder.
Now lets create something to trigger the PresentLineEvent event.
Lets make a button.
fn setup(asset_server: Res<AssetServer>, mut commands: Commands) {
    commands
        .spawn(NodeBundle {
            ...
        })
        .with_children(|parent| {
            ...

            parent.spawn(ButtonBundle {
                style: Style {
                    width: Val::Px(150.0),
                    height: Val::Px(65.0),
                    border: UiRect::all(Val::Px(5.0)),
                    justify_content: JustifyContent::Center,
                    align_items: AlignItems::Center,
                    ..default()
                },
                border_color: BorderColor(Color::BLACK),
                background_color: Color::DARK_GRAY.into(),
                ..default()
            })
            .with_children(|parent| {
                parent.spawn(TextBundle::from_section(
                    "Start",
                    TextStyle {
                        font: asset_server.load("fonts/FiraSans-Bold.ttf"),
                        font_size: 40.0,
                        color: Color::rgb(0.9, 0.9, 0.9),
                    },
                ));
            });
        });
}
Then add a new system to handle when the button is clicked. This system
needs to check if the YarnProject resource exists. This ensures all of the .yarn files are loaded and the rest of yarn spinner is ready to go.
When the button is clicked we will initialize a dialogue runner. Then select the start node as "Hello" to start the dialogue from the hello.yarn file.
...

fn main() {
    App::new()
        ...
        .add_systems(
            Update,
            handle_click.run_if(resource_exists::<YarnProject>)
        )
        .run();
}

fn handle_click(
    project: Res<YarnProject>,
    mut commands: Commands,
    mut interaction_query: Query<(&Interaction, &Children), (Changed<Interaction>, With<Button>)>,
    mut text_query: Query<&mut Text>,
) {
    for (interaction, children) in &mut interaction_query {
        let mut text = text_query.get_mut(children[0]).unwrap();

        match interaction {
            Interaction::Pressed => {
                if text.sections[0].value == "Start".to_string() {
                    text.sections[0].value = "Next".to_string();

                    let mut runner = project.create_dialogue_runner();
                    runner.start_node("Hello");
                    commands.spawn(runner);
                }
            }
            _ => {}
        }
    }
}
Now we have the basic setup to start the dialogue and display the current line in the UI.
Next lets get the next line of dialogue. When the button is displaying "Next" and we have another line to show,
we query for DialogueRunner. Lets just use a loop for simplicity (since we know there is only one). Check if the runner is running then call continue_in_next_update().
...

fn handle_click(
    ...
    mut dialogue_runners: Query<&mut DialogueRunner>
) {
    for (interaction, children) in &mut interaction_query {
        let mut text = text_query.get_mut(children[0]).unwrap();

        match interaction {
            Interaction::Pressed => {
                ...
                } else if text.sections[0].value == "Next".to_string() {
                    text.sections[0].value = "Start".to_string();

                    for mut dialogue_runner in dialogue_runners.iter_mut() {
                        if dialogue_runner.is_running() {
                            dialogue_runner.continue_in_next_update();
                        }
                    }
                }
            }
            _ => {}
        }
    }
}

...
Now we can display the second line of the hello.yarn file.
Lets finish this up by reverting the UI text when we reach the end of the dialogue. This requires listening for the NodeCompleteEvent.
Lets add a new system that runs when this event is fired.
We should reset the UI and button text when we receive the NodeCompleteEvent.
...

fn main() {
    App::new()
        ...
        .add_systems(
            Update,
            complete_dialogue.run_if(on_event::<NodeCompleteEvent>()),
        )
        .run();
}

fn complete_dialogue(
    button: Query<&Children, With<Button>>,
    mut line: Query<&mut Text, With<DialogLine>>,
    mut text: Query<&mut Text, Without<DialogLine>>,
) {
    for mut text in line.iter_mut() {
        text.sections[0].value = "Waiting for dialogue...".to_string();
    }

    for children in button.iter() {
        let mut text = text.get_mut(children[0]).unwrap();
        text.sections[0].value = "Start".to_string();
    }
}

...
The end
That about wraps up the most minimal example of use YarnSpinner-Rust that I can write up.
Thank you @janhohenheim on the Bevy discord for pointing me to the events page in the docs.
(And also for creating such a wonderful integration for Bevy!)
Thanks for reading! Find me in the Bevy discord (blyte | @bleyve). My social links are in the header.